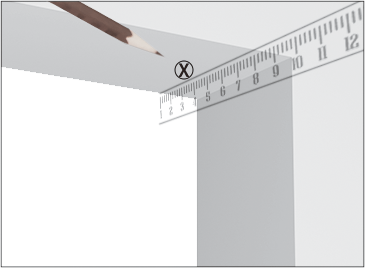
1, Measure and mark the suitabledepth for the brackets.
How to Install Window Blinds & Shades

Home / How to Install
Window Blinds & Shades Installation Guide
Installing custom blinds, shades, or shutters may seem complex, but with the right tools and clear instructions, it becomes straightforward. Follow these steps for an easy installation.
Installation Preparation
- Determine whether to use an inside or outside mount
- Ensure all tools and materials are ready
- Check the packaging to confirm all necessary hardware is included
Tools You Will Need
- Metal measuring tape
- Flat and Phillips head screwdrivers
- 1/4" nutdriver
- Safety glasses
- Drywall anchors
- Pencil
- Drill and appropriate bits
- Level
- Ladder (if needed)
Inside Mount
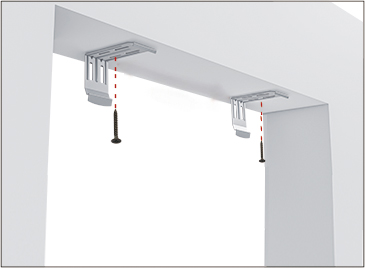
2, Mark and drill , then install the brackets

3, Install the blinds
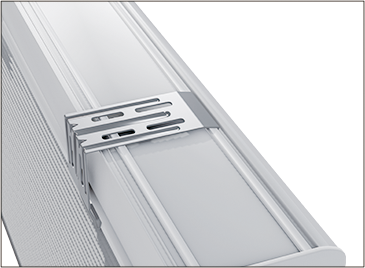
4, Put the cassette into the brackets,installation finished.
Outside Mount
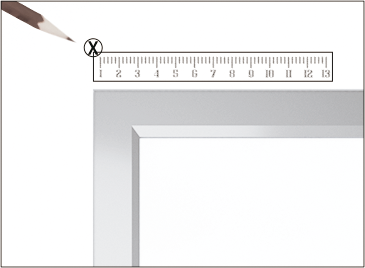
1, Measure and mark
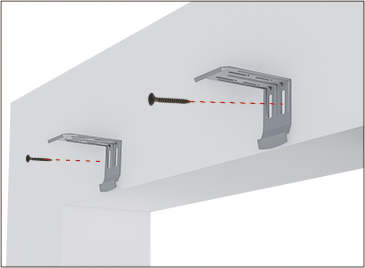
2, Mark and drill , then install the brackets

3, Install the blinds

4, Put the cassette into the brackets, installation finished
MEET WITH AN EXPERT
We can connect you with a window-treatment expert in your area. No obligation.
- *Title
- *Content

